How to Read the Map in Destiny
To follow, please login or register for a GINX business relationship.
How to consummate Tracing the Stars III in Destiny 2: All Atlas Skews locations
A new Tracing the Stars quest is at present available in Destiny two with the 7th September weekly reset, here's everything yous demand to know virtually information technology.
Published on September seventh, 2021 Updated September 14th, 2021
Update: The concluding exotic quest A Hollow Coronation is now live, check out our guide right here.
Original story:
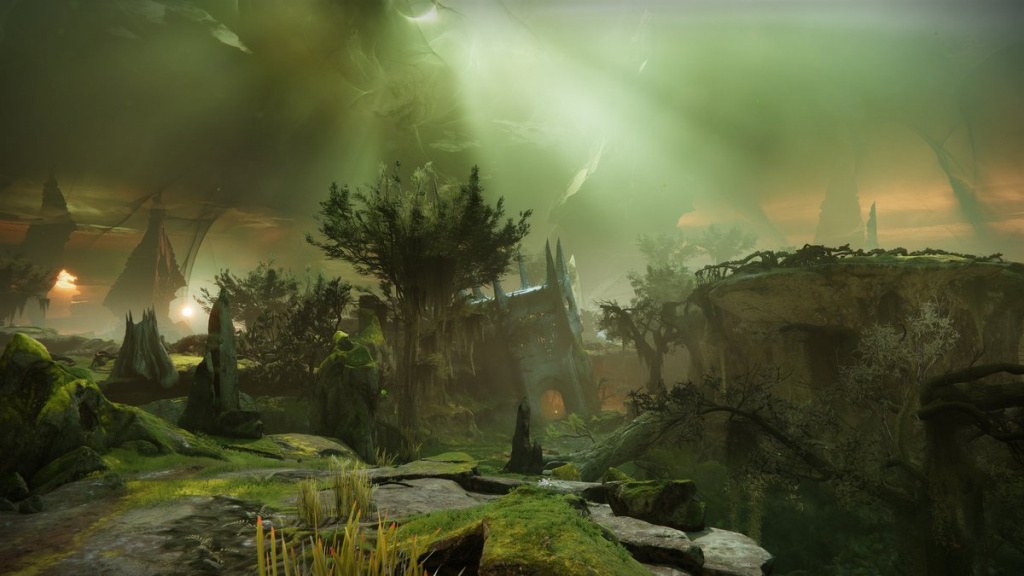
Destiny two'southward Flavor of the Lost is here, promising an exciting time for Guardians leading up to the release of The Witch Queen expansion early on in 2022.
Being two weeks into Season 15, fans have had time to grind the new season pass, collect the fresh weapons available from dissimilar activities, and swoop deep into the Atomic number 26 Banner. Now, the continuation of Tracing the Stars is here.
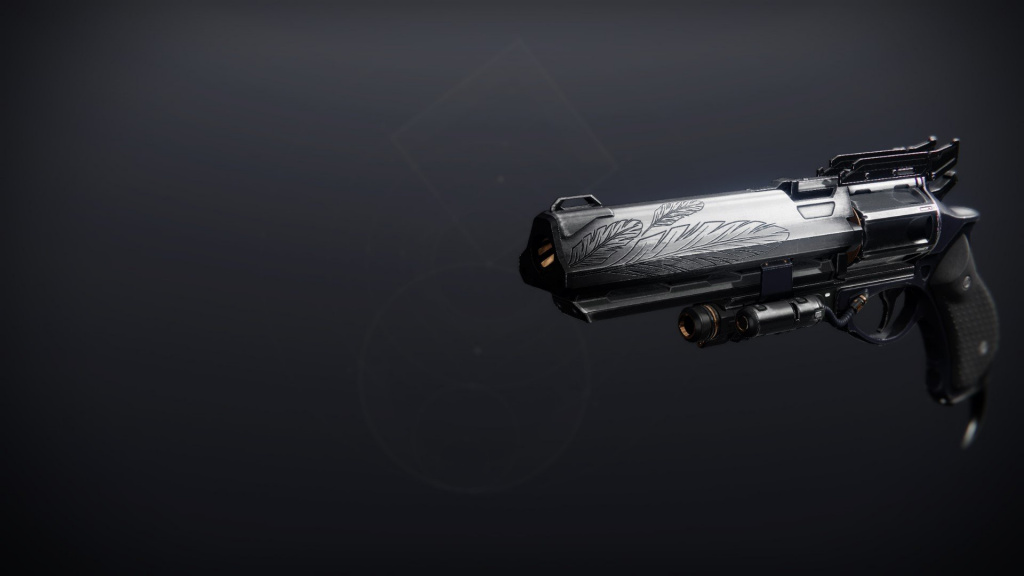
The quest is refreshed upon each weekly reset and it will ultimately reward players with an exotic Trace rifle as it'southward directly tied to Wayfinder's Voyage, with over 50 steps to consummate, Bungie has made it so only a few can exist completed later on each reset.
- Read more: How to enable crossplay in Destiny two
We've already covered how to complete week one and week two Tracing the Stars. Without farther ado, permit's see what Tracing the Stars 2 has to offer.
How to consummate Tracing the Stars iii in Destiny 2
Like always, you lot'll be able to pick this quest from the Wayfinder's Compass, become talk to Mara Sov in her special section of the H.E.L.M and she'll set you to look for another ready of Atlas Skews.
Where to notice Atlas Skews
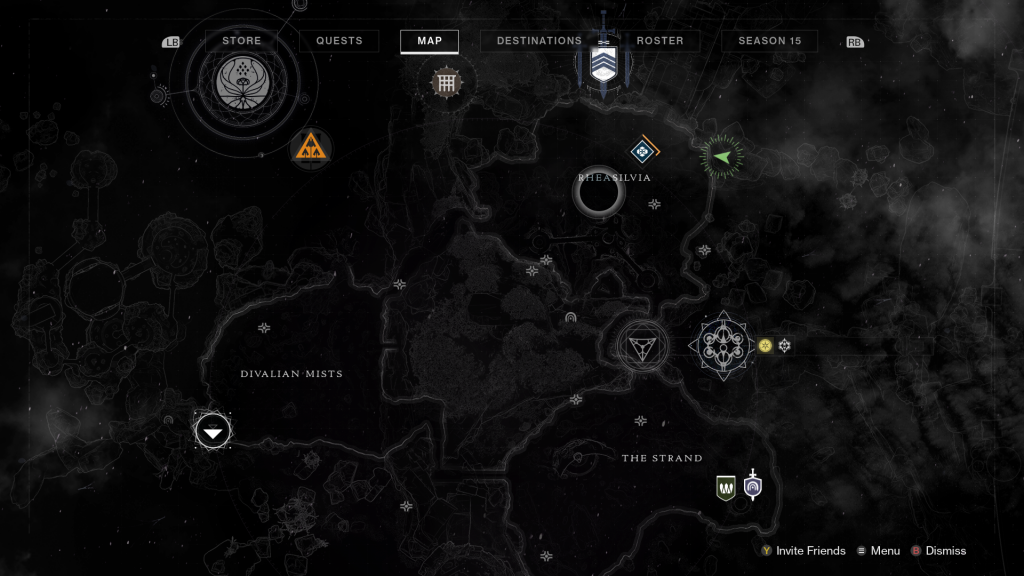
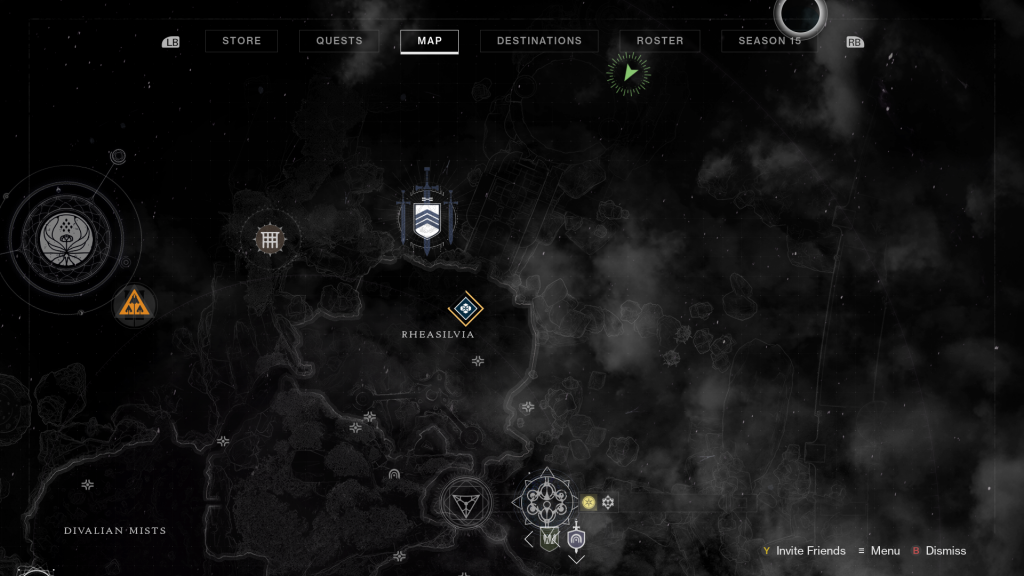
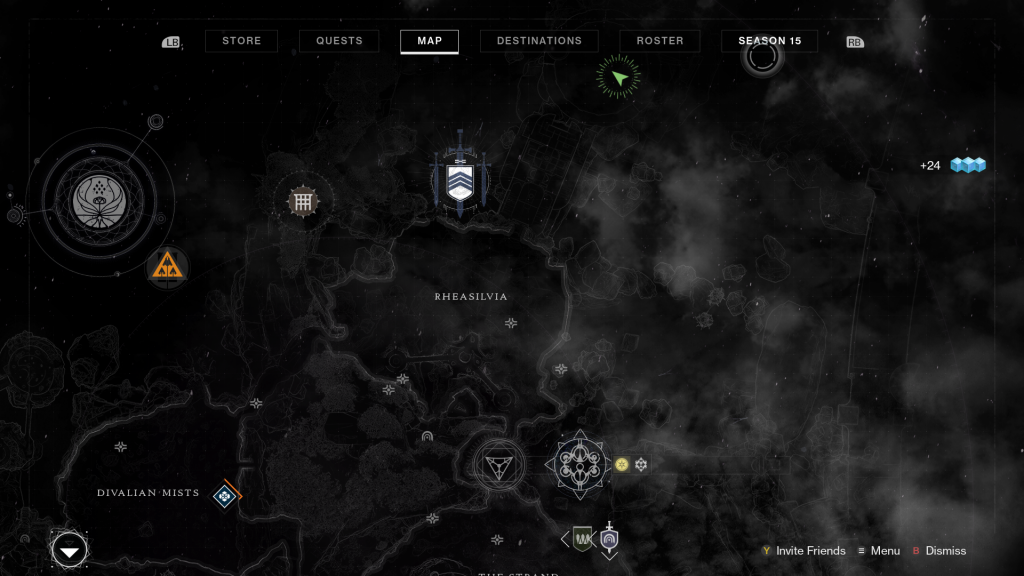
Only like the previous two weeks, the Atlas Skews are spread out across The Dreaming Metropolis, the locations marked this time are:
- Rheasilvia Secluded Statue
- Rheasilvia Lower Level
- Rheasilvia Temple Overlook
- Harbinger Sidehall Statue
- Harbinger Ahamkara Skulls
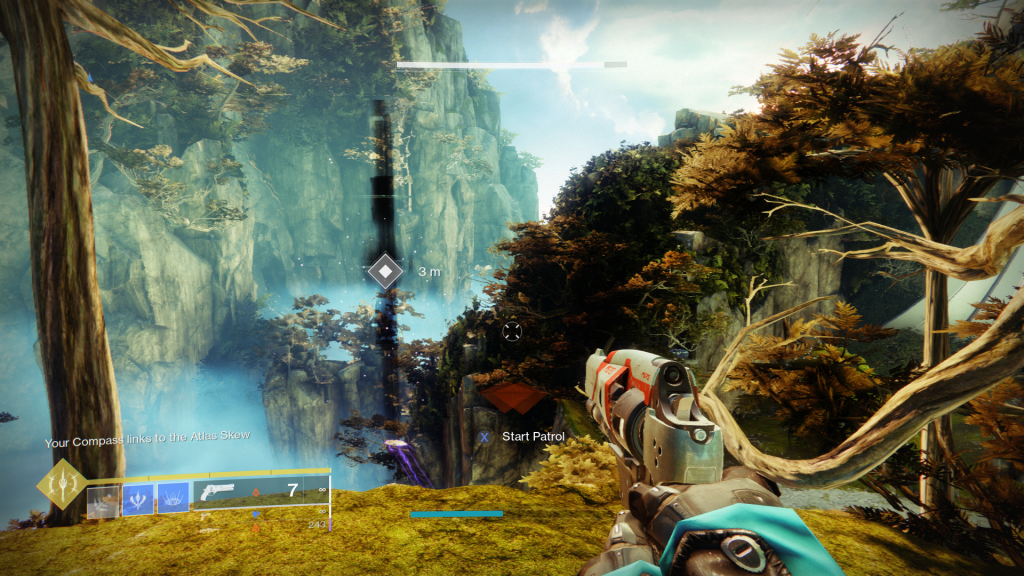
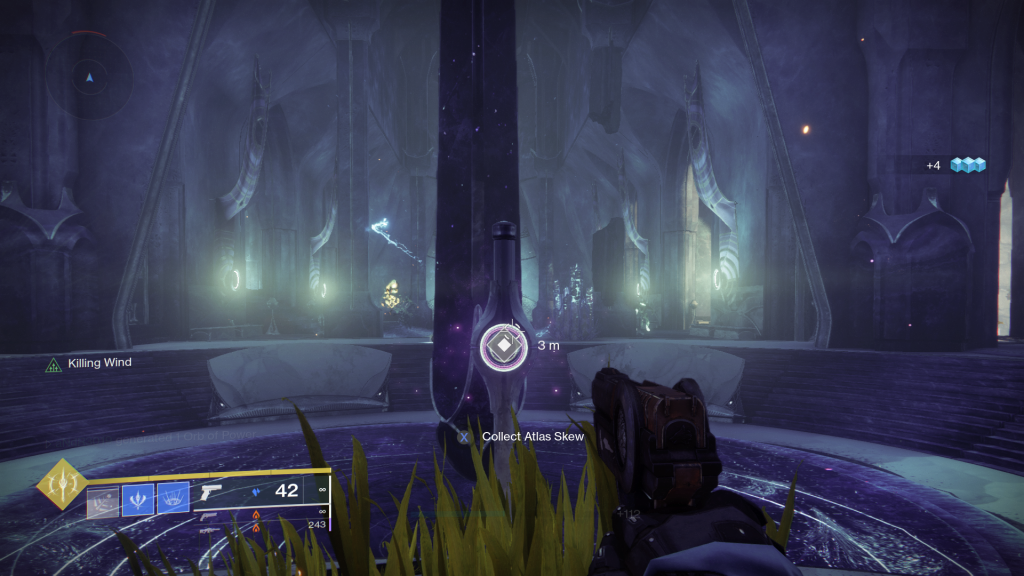
Rheasilvia Lower Level
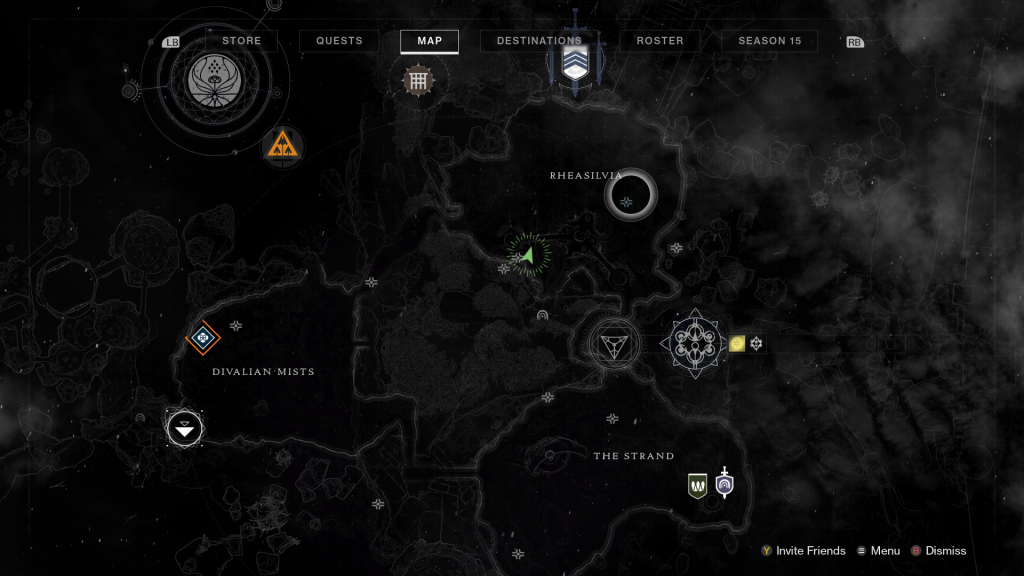
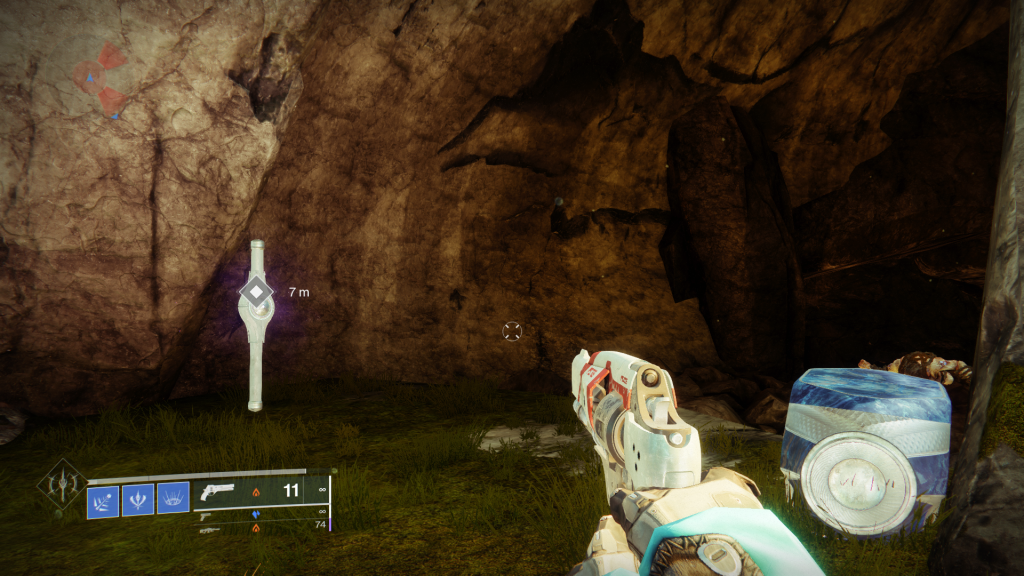
Once you land on the Divalian Mists Landing Zone, head towards Rheasilvia via the pathway on the left side of the map (the one with a chest marked on the map).
From in that location, head on towards the right side of the bridge and look downward, for reference, it's near the spot where 2 chests are marked, simply drop down and you'll spot it easily.
Rheasilvia Temple Overlook
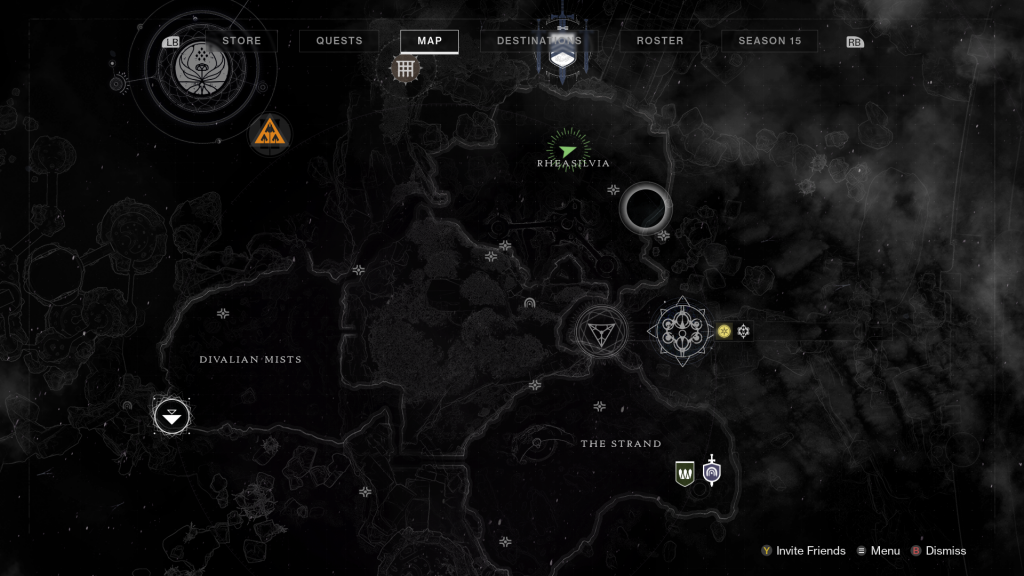
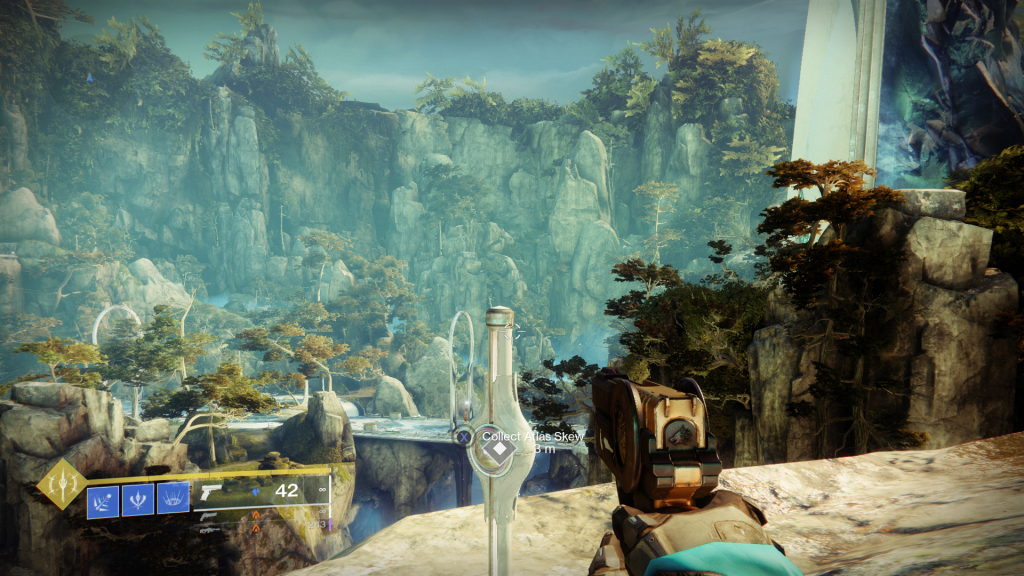
As soon every bit you pick up the first Atlas Skew, move north of the area until you reach a rock formation that has a direct view of the Awoken Temple, there'southward a patrol right next to the Skew if yous demand further reference.
Rheasilva Secluded Statue
Go along on moving as if you lot were going to enter the Awoken ruins and head right to the rocky formation for a bit of platforming, jump between a large gap until you're essentially facing the Temple and keep climbing until you see the Skew.
Harbinger Sidehall Statue
Call back that Awoken building we just passed? Time to go in it. Get in a straight line and turn right once you hit a wall, this volition lead you to the Harbinger'southward Seclude expanse.
Take two lefts and one right, once you're in the more open up surface area, head direct and plow correct when you see, you guessed it, a side hall, the Skew should appear on your map.
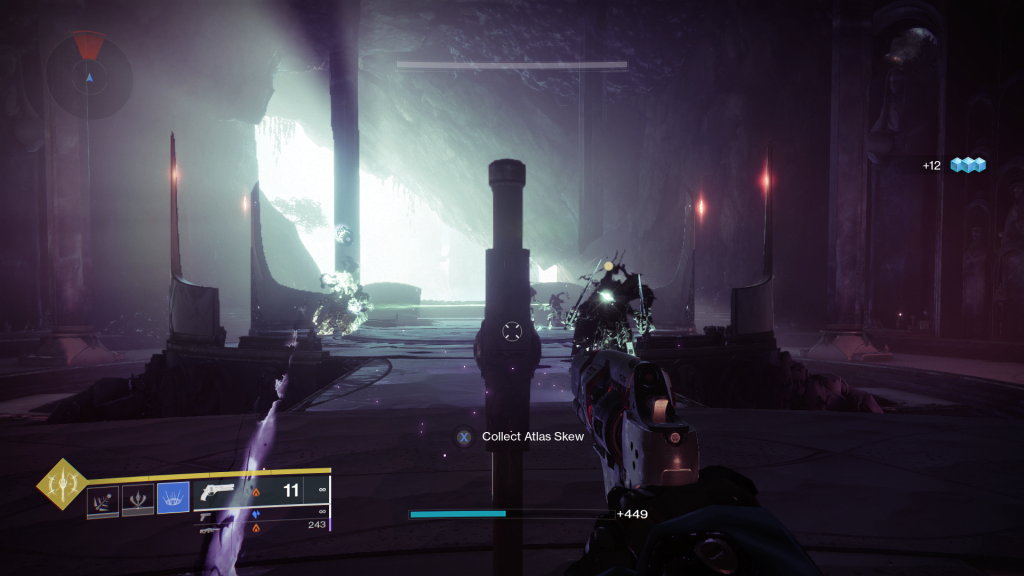
Harbinger Ahamkara Skulls
The final Skew is located on the other side of Harbinger's Seclude, so move to the left side of the area you lot're currently in, the reference hither is seeing the spot where y'all identify lures during Wrathborn Hunts. If yous see it, look down to your right and country right in that spot, head to your right through the small tunnel and into a new surface area similar to the one you were in, the Skew is at the end of the section.
Once you accept all the 5 Atlas Skews, caput back to the H.East.L.M and activate the special A Hollow Coronation event from the directory. Place the Skews in the highlighted artifact and the mission should end, simply enjoy the lore and then talk to the Compass once more to collect your reward, the new Chrysura Melo auto rifle.
- Read more: Nightfall weapon this week in Destiny two
If you're looking for a more than visual guide, cheque out Esoterickk'south YouTube video which we have embedded down below.
For more on all things Destiny 2, check out our dedicated section filled with news, guides, and more than.
RECOMMENDED FOR YOU
williamsmades1970.blogspot.com
Source: https://www.ginx.tv/en/destiny-2/how-to-complete-tracing-the-stars-iii-in-destiny-2-all-atlas-skews-locations
0 Response to "How to Read the Map in Destiny"
Enregistrer un commentaire